Step by Step on Configure the DHCP Setting
The setup instruction below shows you how to setup TA200 Adaptor, please connect your PC to
TA200 Adaptor ‘LAN’ port to make configuration.
Step 1:
Open Web browser and enter http://192.168.10.1 the following page should open. Enter the
default values: Username: admin, Passsword: admin.
Step 2:
At the main page, select ‘WAN/LAN Configuration’ tab to complete the WAN Interface Configuration.
- Select ‘DHCP’
- Enter the Primary and Secondary DNS server address. (Please refer to your ISP)
- Click the ‘Update’ button to save the setting.
Step 3:
After click on ‘Update’ button, you will get this below screen, please click ‘Reset’ to save the
setting.
Step 4:
Once reset, the TA200 Adaptor device will save and reboot the setting, please wait around
20 second or press ‘Main Page’ back to ‘Unit Information’.
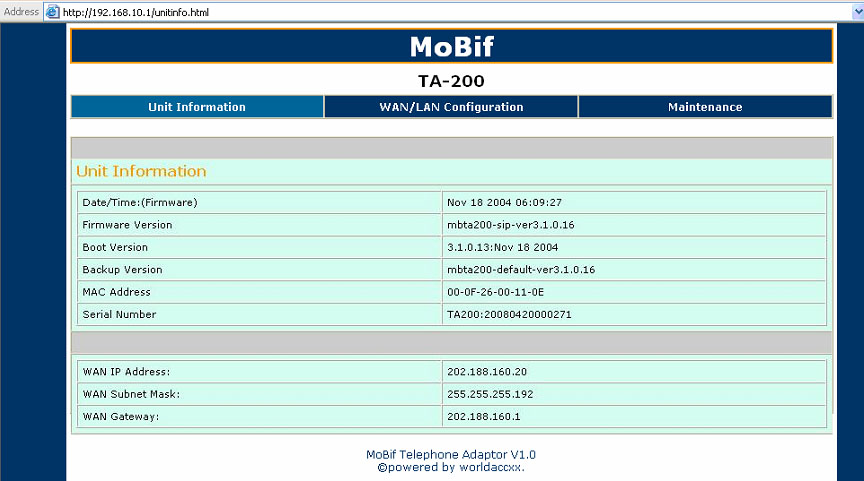
Step 5:
You will get a WAN IP address appears at ‘Unit Information’.
Step 6:
Your TA200 have successful connect to internet.
Step 7:
If you can’t hear the dial tone when pick the handset within 5 minutes, please press “***2” to
download the configuration file. Place back the handset after you heard the “Tut” sound. At this
moment, please wait another 5 minutes before you want make the next call.
— Or —
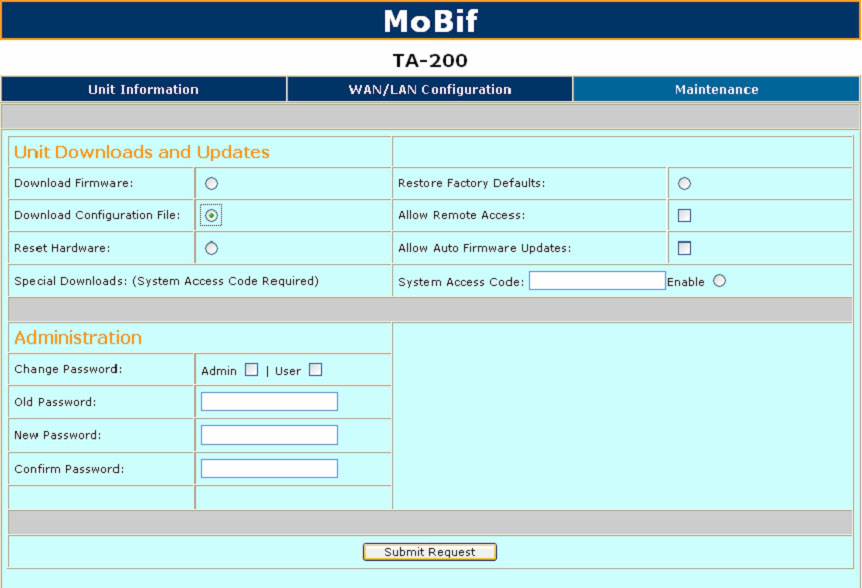
You can access to VtalkVoIP Maintenance configuration page and select ‘Download
Configuration File’. Click ‘Submit Request’ to save the setting.


