VoIP Call Recording with A401
Why Do We Need VoIP Call Recording?
There are various reasons when a company or a business needs VoIP call recording or some may refer it as “logging” technology. However, most of us would agree that the prime reason would be to increase the efficiency of your sales team or support team. With the recordings, your company sales / support team can further improve their services by handling customer complaints better, answering customer enquiries accurately or securing more customers through telephone sales. Ultimately, increasing revenues.
VoIP Call Recording Configuration Steps
- Assuming 192.168.0.117 is your IP-PBX’s address and you have done the settings on the Basic sections (e.g. Extensions, Trunks, Outbound Routes).
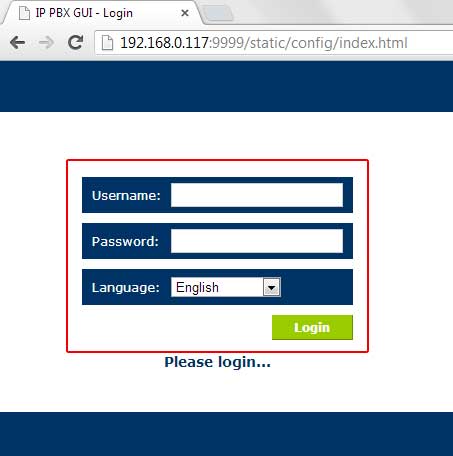
- Go to http://192.168.0.117:9999, login to your A400 control panel using the username and password provided.
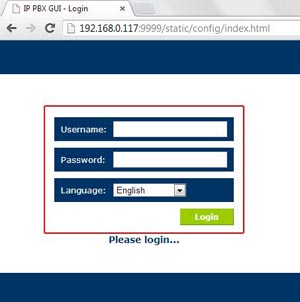
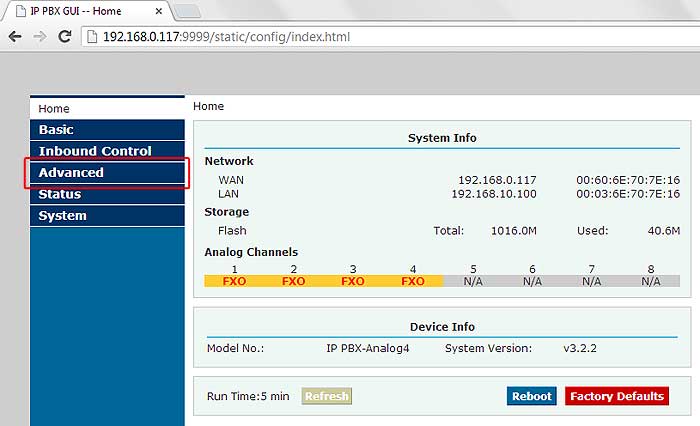
Please click above to enlarge image. - After you have successfully login, you’ll see the screen as illustrated below.
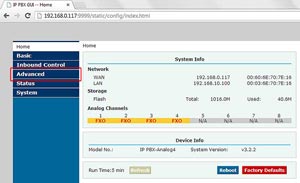
- Go to Advanced > Call Recording. Then, click “Add New Call Recording”.
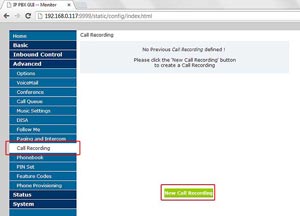
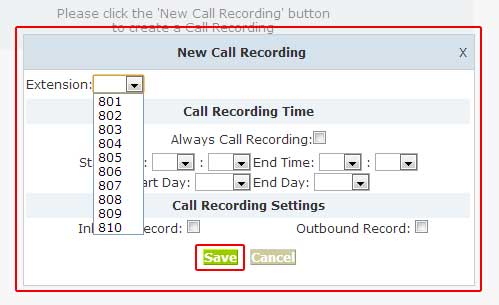
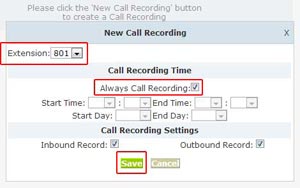
Please click above to enlarge image. - Your browser will prompt a dialog box. Select the settings accordingly (e.g which extension to record, when to record, to record inbound or outbound calls). The settings will not apply if you do not save the settings.
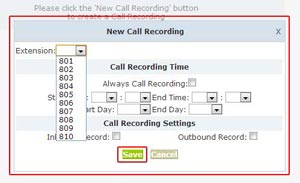
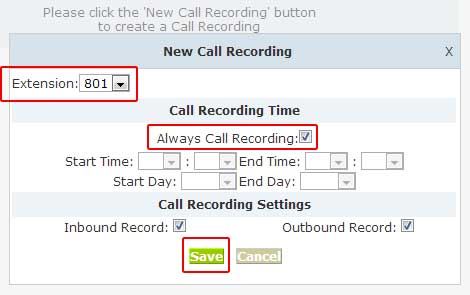
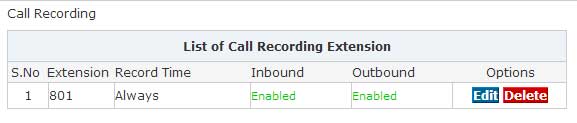
Please click above to enlarge image. - In our case (just for demo purpose), we select extension 801, “Always Call Recording” and “Inbound and Outbound Recording”.
Please click above to enlarge image.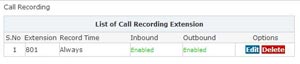
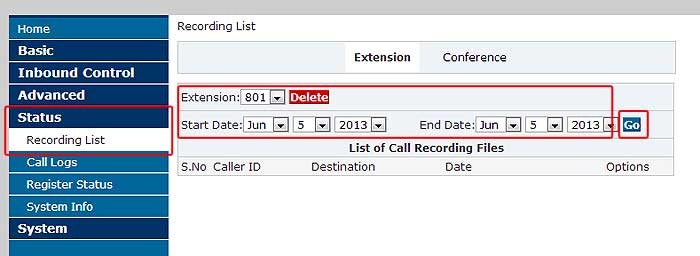
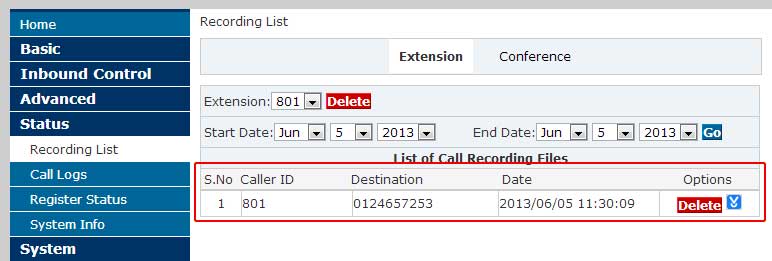
Please click above to enlarge image. - Try making some calls. Then go to Status > Recording List. Select your choice of extension and date. Click GO button and a list of recording files will display.To play the recording file just click download button, use apple quick time player to play the file

Please click above to enlarge image.
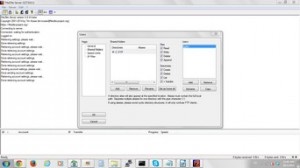
Please click above to enlarge image. - To upload call recording file to FTP server. You’ll need to setup a FTP server.We demonstrate using Filezilla ftp server.At the Filezilla FTP server GUI, we create an account
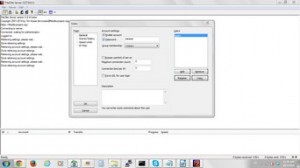
Please click above to enlarge image. - We configure FTP server directory.
Remember to Grant permission for Files(Read, Write, Delete, Append), Directories (Create, Delete, List, Subdir). Or you’ll facing error later.
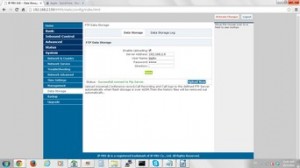
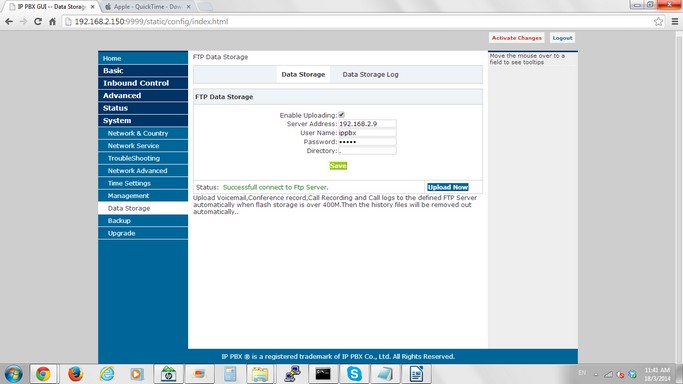
Please click above to enlarge image. - Navigate to System → Data storage
Enable Uploading: Checked
Server Address: your FTP address (example 192.168.0.2)
Username: FTP user name
Password: FTP user password
Directory: .
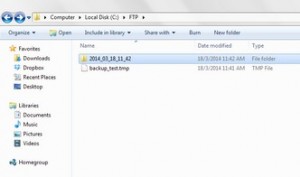
Please click above to enlarge image. - Check your FTP, when your IP-PBX storage over 400MB, PBX will upload Voice mail, Conference record, Call Recording and Call logs to FTP server.

Please click above to enlarge image. - To read back your file, go to FTP directory.
To playback call recording file at your FTP server. You have browse to monitor under main directory, And the select folder name as extension.
Please click above to enlarge image.