AlienVoIP with FreePBX
VoIP with FreePBX
FreePBX is an open source GUI used to manage your PBX. This guide below will show you how to setup AlienVoIP SIP Trunks. It is a common setup when using any VoIP provider SIP Trunks.
|
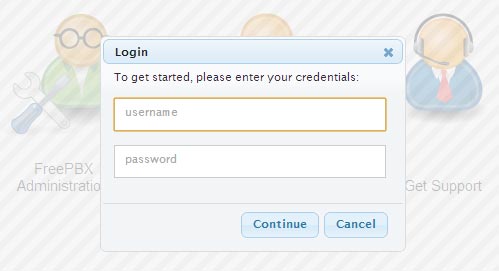
1. Login to your FreePBX.
|
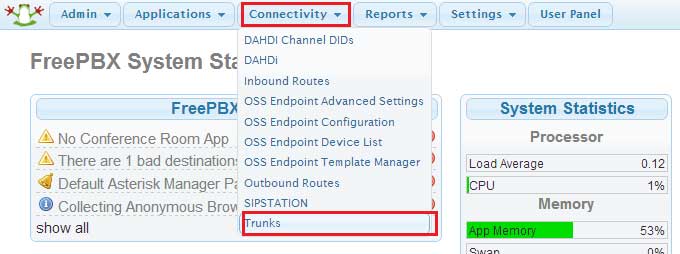
2. Go to Connectivity > Trunks.
|
|
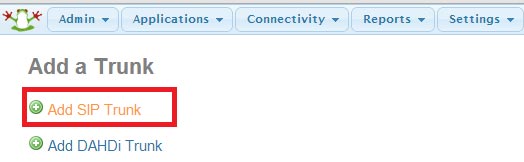
3. Click Add SIP Trunk.
|
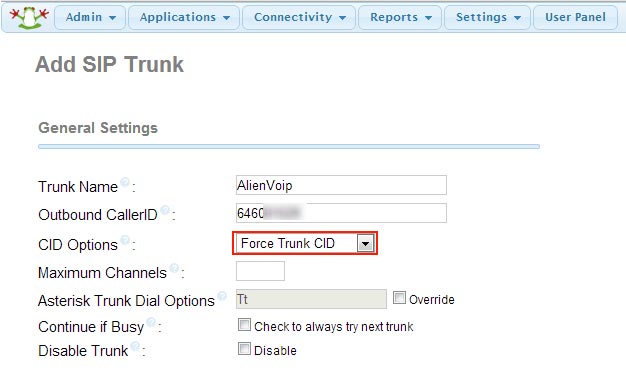
4. Key in Trunk Name and SIP number (OutBound CallerID). Then, select Force Trunk CID as CID Options.
|
|
5. Scroll down to Peer Detail, copy the following scripts and register string. Then paste them in the columns accordingly as shown below.
username=****** SIP Number ***** secret=***** SIP Password **** type=friend host=sip1.alienvoip.com port=5060 context=from-trunk nat=route canreinvite=no disallow=all allow=g729&g723&gsm dtmfmode=rfc2833 qualify=yes trustrpid=no sendrpid=no insecure=very |
Register String: SIP Number:SIP Password@Sip1.alienvoip.com/SIP Number
|
|
Click “Submit Changes” after you have filled in the details accordingly.
|
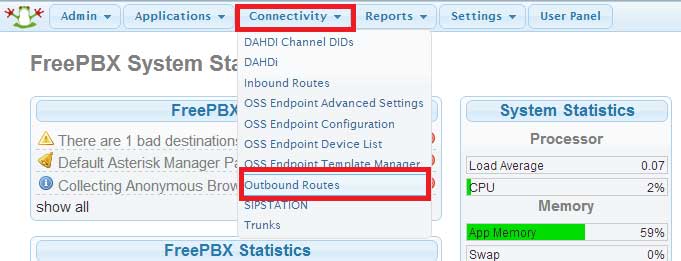
6. Go to Connectivity > Outbound Routes.
|
|
7. Insert your Route Name and key in the dial patterns as _XXXX .
|
8. Scroll down and select AlienVoIP as Trunk Sequence for Matched Routes.
|
|
9. Click Submit Changes to apply configuration.
| 10. You can start using your FreePBX and enjoy AlienVoIP’s services now! |